Introduction
I recently setup a Minecraft Server on Amazon Elastic Compute Cloud (EC2) for one of my sons and his friend. It was an experiment for use with a larger group of Cub Scouts in my Bear den.I signed up for the free hosting for a year from Amazon. The free instance has some limitations, but will work fine. The biggest issue is the amount of ram in the free micro (t1.micro) instance is about 613MB. This is much smaller than the recommendation of 1024MB on the Minecraft website, but worked with a small group. You may need to go to the next tier (m1.small, or m1.medium) for a bigger group. Those instances are not in the free tier, but are $0.06/per hour, and $0.12/per hour respectively at the time of this writing.
The details below are simple, and are for use with an Linux based Amazon Machine Image (AMI). If you are not familiar with the terminology, it just means the operating system image for our virtual machine which we will be creating. You can create a Windows based AMI. The steps would be similar to the ones detailed below. If there is a need I may write another article on how to do it with a Windows AMI.
The process has a number of steps, but it actually takes about 5-8 minutes to get it setup. These directions are detailed just in case you need them.
Requirements
- You will need to have an SSH client installed on your computer. A mac has ssh built into the operating system. Windows users may use a free client like PuTTY.
- Java 7 Server JRE for Linux
- Minecraft application with a valid license
- Minecraft Multiplayer Server
Instructions
- Sign up for a free Amazon Web Services Account
- Sign-in to the Amazon Management Console and select EC2 from the list of services.

- You should see a screen similar to the one below. Please select a region closest to your location, e.g. I live in South Carolina so I will use US East (N. Virginia). This will reduce the network latency since it is closer.

- Next create a key-pair. These are the cryptographic keys used to login to the service.
The pem file that is downloaded should be kept in a safe location. You will need it later. I called my key pair Minecraft.


- Next select Volumes. We will be creating an Elastic Block Store (EBS) that will house our Java installation, and Minecraft server. The EBS will survive our instance being shutdown, and allow us to use it later if we want to run another game server. The maximum size for the free tier is 30GiB. We don't need anything that big. Create a volume in my case I will create one with the following values:
Volume Type: Standard
Size: 8 GiB
Availability Zone Any
Snapshot: No Snapshot
Once the volume is created, select it and go to the Tags tab and give it a name. I called mine minecraft-world. Write down the Availability Zone you selected, you will need this when you create your AMI.


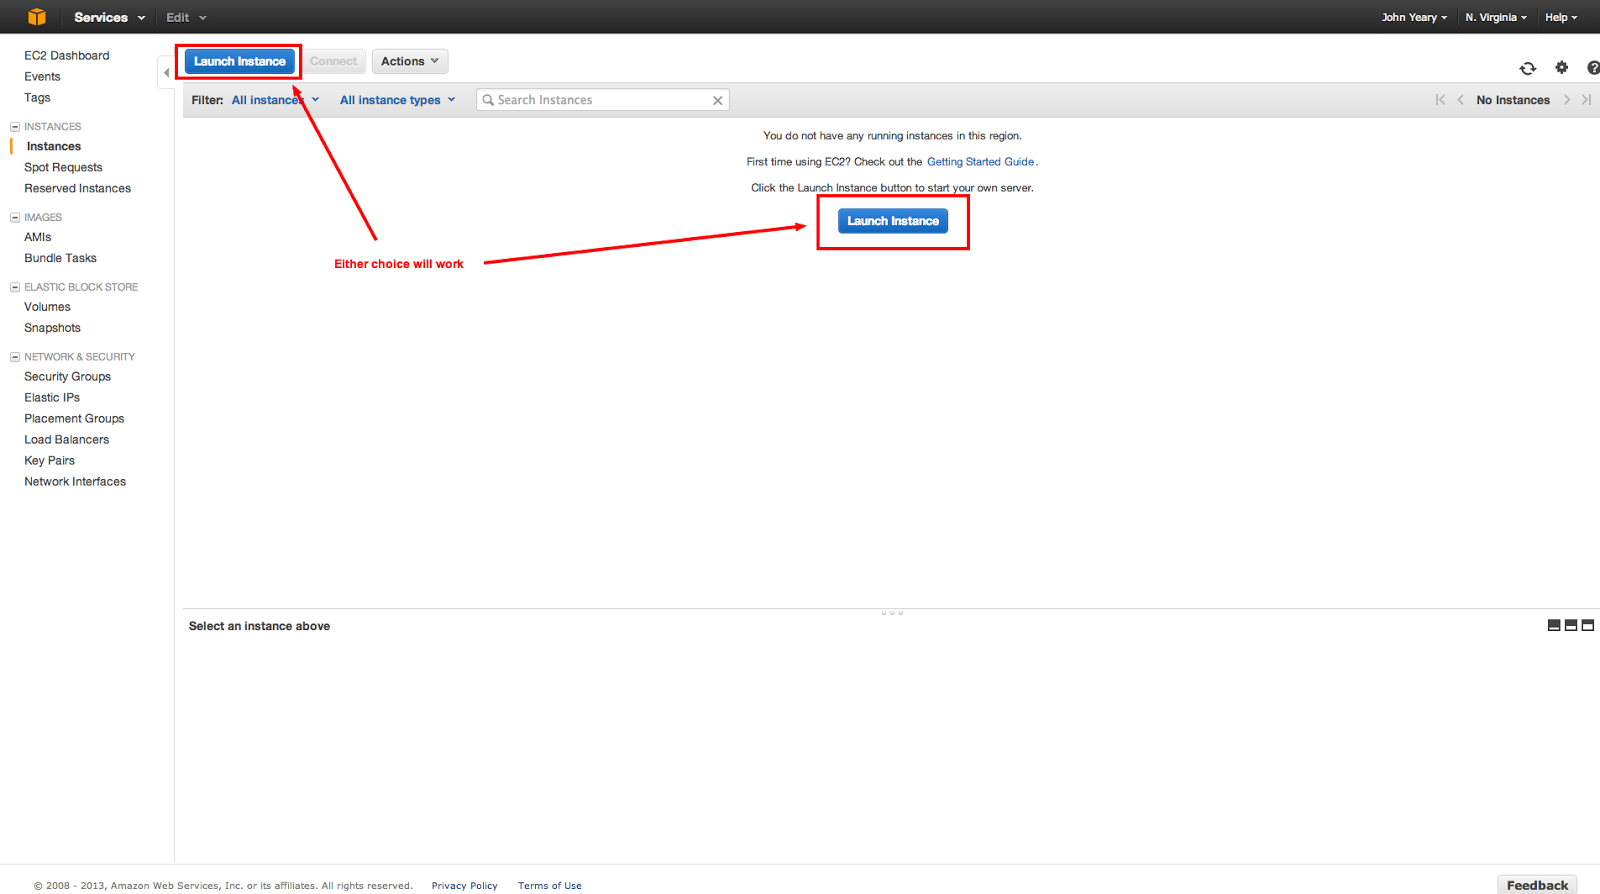
- Next we will create our AMI instance. This will require a couple of steps in detail. Select Instances and Launch Instance.

- Select free instances, Ubuntu Server 13.10 (I also tested with Amazon Linux AMI 2013.09.1), 64-bit, and Select.

- Next: Configure Instance Details.

- Select the Availibility Zone that you chose for your EBS. In my case it is us-east-1c. Next: Add Storage.

- Next: Tag Instance

- Give the instance a name. I called mine Minecraft Server and Next: Configure Security Group.

- Note: This step is critical to get correct, otherwise you will not be able to connect to the instance. In my case, we are on a private LAN connected to a wireless router to the Internet. All of the boys connect to the router on their laptops via Wi-Fi. We will be using the EXTERNAL IP address of the router. Amazon should discover this automatically, if you select the source as My IP. Your circumstances may be different. If you have people connecting from remote locations, you will need them to provide their external IP addresses and add them as separate rules.
- Create a new security group
- Protocol: All TCP
- Port Range: 0-65535
- My IP: x.x.x.x/x (This should be auto-detected).
- Review and Launch

- Review the page, and select Launch.

- Select a key pair to use. We will use our Minecraft key and Launch Instances.

- Congrats you have setup and launched an EC2 instance!View Instances.

- You should see your instance running.

- Select Volumes again, and click on the minecraft-world volume you created earlier. Select Attach Volume from the Actions menu. Select the Minecraft Server instance, the device should default to /dev/sdf, and press Yes, Attach.


- Select the instances tab, select the Minecraft Server and press Connect. This will bring up a screen with connection instructions.

- Open a terminal, or connect to the instance using a tool like PuTTY using the instructions provided. When connecting you may get a warning about the key fingerprint, please choose yes.

- Once connected, we will need to setup our EBS store. Note: This will only need to be done once since it is the first time. If you are connecting subsequently skip to Step 21. In the terminal issue the following command:
This will create format our disk. - Mount it at the /mnt mount point on our os.
- Next we will open another terminal on computer and go to the directory where our Java Server JRE and Minecraft server instance jar is located. Use scp to copy the files to the server as shown below. Note: the address (the part after ubuntu@) will be the same as your connection string earlier. The :/home/ubuntu is directory we will copy it to.
- From our SSH terminal, we will copy the files from our /home/ubuntu directory to /mnt and configure them as follows.
- Next we will modify the .bashrc file to point to our new JAVA_HOME and add the JAVA_HOME to our PATH.
Add the following to the bottom of the file and save.
- Next we will set our new values in the shell, and check to see if Java is available.
You should see something like this that indicates that Java is correctly installed: - Finally we are ready to start the Minecraft server. The command below is for our current configuration. If you setup your server using a m1.small, or m1.medium instance as noted in the introduction, then use the the alternate command.
ALTERNATE server command for m1.small and m1.medium
You should see something like this:
- Test it out with your Minecraft Application using the public IP address of the server.


Congratulations, you have a Minecraft server!

0 comments :
Post a Comment